Welding Challenges: What Holds You Back and How to Beat Them
If you’ve ever tried to weld, you know it’s not just about holding a torch. From shaky hands to confusing settings, a lot can go wrong. The good news is every bump has a fix. Below we break down the most common problems and give you step‑by‑step tips so you can keep the sparks flying and stay safe.
Learning the Basics Takes Time
Many beginners think they can pick up welding in a weekend, but mastering the basics usually needs weeks of practice. The first challenge is getting the right posture and grip. Start by practicing on scrap metal at a low current. Focus on a smooth, steady motion instead of speed. As you get comfortable, slowly raise the heat and try thicker pieces. Consistency beats speed every time.
Another rookie mistake is ignoring the polarity settings on your machine. MIG and TIG welding each have a “reverse polarity” or “straight polarity” requirement. If you wire the machine wrong, the arc will be weak or the metal will burn through. Double‑check the manual before you fire up and keep a cheat‑sheet on your workbench.
Choosing Between MIG and TIG
MIG welding is great for beginners because it feeds wire automatically and is forgiving on thin metal. The biggest hurdle here is getting the right gas mix—usually 75% argon, 25% CO₂ for mild steel. Too much CO₂ will make the weld look spiky, too little and you’ll get a weak bond.
TIG welding offers cleaner welds but demands more skill. You control both the torch and a filler rod with one hand, so coordination is key. Start with a low amperage and practice on flat joints before moving to angled seams. If the torch feels heavy, try a lighter grip or a different torch weight.
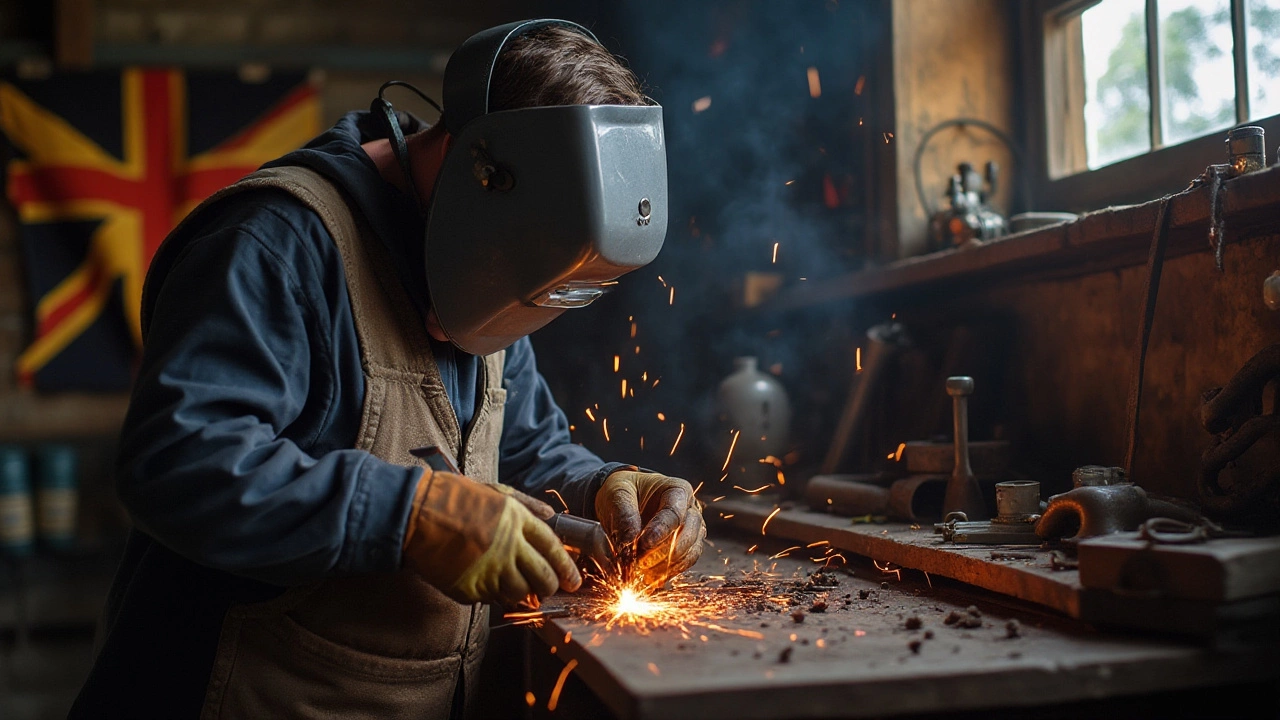
Both methods share a safety challenge: fumes and UV radiation. Always wear a proper welding helmet with auto‑darkening lenses, gloves, and a breathable respirator. Turn on the exhaust fan in your workshop; it cuts down on inhaling metal particles and keeps the air clear.
Even after you’ve got the basics down, real‑world projects bring new obstacles—tight corners, uneven gaps, and uneven metal thickness. The trick is to prep the joint thoroughly. Clean away rust, grind edges smooth, and use a bevel if the metal is thick. A clean joint means fewer cracks and a stronger weld.
Finally, don’t skip the after‑care. Let the weld cool naturally; rapid cooling can cause brittleness. Use a wire brush to remove slag, then inspect for cracks or porosity. If you spot a problem, grind it out and weld again. A little extra time now saves a lot of rework later.
Welding isn’t magic—it’s a skill you build piece by piece. Focus on one challenge at a time, practice regularly, and keep safety front and centre. Before you know it, those sparks will turn into solid, professional‑looking joints you can be proud of.