
Welding Type Recommendation Tool
Not sure which machine to buy? Select the scenario that best describes your goals and we'll recommend the best starting point.
🏠 Home Hobbyist
I want to fix furniture, do auto repair, and learn quickly with the least frustration.
Easiest Learning Curve🚜 Backyard Warrior
I need to weld outdoors in the wind and don't want to lug heavy gas tanks around.
Gas-Free/Portable🛠️ Heavy Duty Repair
I'm working with rusty farm equipment and thick, dirty steel plates.
Rugged & Cheap🎨 Precision Artist
I want the most beautiful, clean welds for thin aluminum or stainless steel art.
High PrecisionQuick Takeaways for New Welders
- MIG Welding is widely considered the easiest to learn because it uses a continuous wire feed.
- Flux Core is the go-to for outdoor work because it doesn't require heavy gas tanks.
- Stick Welding is rugged and cheap but requires a lot of "restart" practice.
- TIG Welding is the most precise but has the steepest learning curve.
If you're looking for the shortest path from "I've never done this" to "I actually made a weld," the answer is almost always MIG welding is a process that joins metals by feeding a consumable wire electrode through a welding gun while shielding gas protects the weld from the air. Also known as GMAW (Gas Metal Arc Welding), it's basically the "hot glue gun" of the metal world. You pull a trigger, a wire feeds out, and the arc happens automatically. You don't have to worry about dipping a rod or balancing a filler rod in one hand while controlling a torch with the other.
Why MIG is the Gold Standard for Beginners
The secret to MIG welding's ease is the wire spool. In other types of welding, you have to manually replace the electrode every few inches. With a MIG setup, the machine handles the feed. This means you can focus on your hand movement and the speed of your travel rather than fighting the equipment.
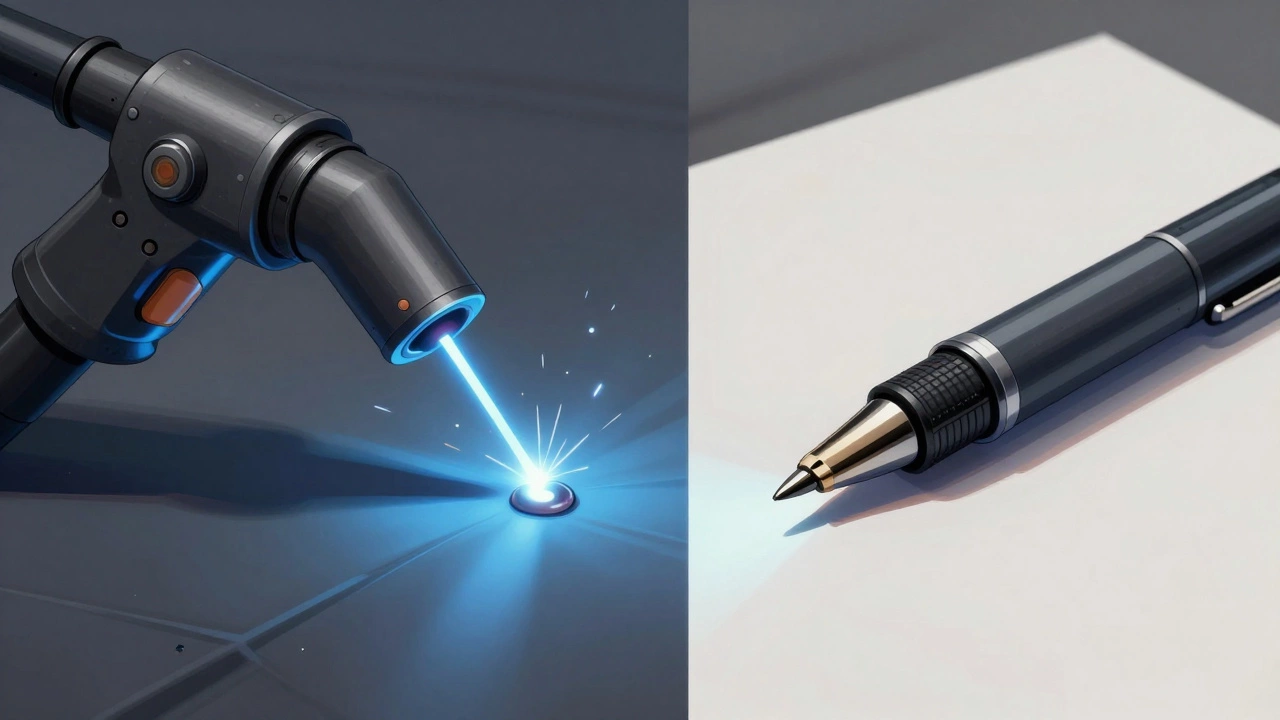
Think about it like writing with a pen versus using a piece of chalk. With chalk (Stick welding), you're constantly dipping back into the chalk box and dealing with bits of debris. With a pen (MIG), the ink just flows. For someone starting out, this removes a massive layer of frustration. You can get a functional, strong weld on mild steel within an hour of practice, provided you have the right settings.
| Welding Type | Ease of Learning | Equipment Cost | Best Use Case | Gas Required? |
|---|---|---|---|---|
| MIG (GMAW) | Very Easy | Moderate | Home projects, Auto repair | Yes (usually) |
| Flux Core (FCAW) | Easy | Low to Moderate | Outdoor/Windy conditions | No |
| Stick (SMAW) | Moderate | Low | Heavy construction, Rust | No |
| TIG (GTAW) | Hard | High | Art, Aircraft, Thin Aluminum | Yes |
The "No-Gas" Shortcut: Flux Core Welding
While MIG is the easiest, there's a specific version called Flux Core Welding which is a variation of MIG welding that uses a wire with a chemical flux inside, eliminating the need for external shielding gas. If the idea of hauling a 20lb tank of Argon/CO2 around your driveway sounds miserable, this is your best bet.
Flux core is fantastic for the "backyard warrior." Because the protection is built into the wire, wind doesn't blow your shield away, which is a common nightmare for beginners trying to weld outdoors. The trade-off? It's a bit messier. You'll deal with "slag"-a crusty layer of glass-like material on top of your weld that you have to chip off with a hammer. It's not as pretty as a gas-shielded MIG weld, but for a trailer repair or a fence post, it's more than enough.
The Rugged Alternative: Stick Welding
Then there is Stick Welding, known technically as SMAW (Shielded Metal Arc Welding). It's the old-school method. You're essentially using a metal rod (the stick) that melts into the joint.
Why would anyone choose this if MIG is easier? Because Stick is incredibly forgiving when it comes to dirty metal. If you're trying to weld an old, rusty piece of farm equipment, MIG will often just "pop" and blow holes in the metal. Stick can punch through rust and paint much more effectively. However, the learning curve is steeper. You have to manage the "arc length"-the gap between the rod and the metal. If you touch the rod to the metal, it sticks like glue, and you'll spend half your time swearing and peeling the rod off the workpiece.
The Expert's Choice: TIG Welding
If you've seen those satisfying videos of someone making a perfect "stack of dimes" weld on a stainless steel pipe, you're looking at TIG welding. TIG, or GTAW (Gas Tungsten Arc Welding), is the opposite of "easy."
In TIG, you hold the torch in one hand to create the heat and a separate filler rod in the other hand to add the metal. It's like trying to pat your head and rub your stomach while holding a 3,000-degree flame. It requires immense coordination and a very steady hand. While it produces the cleanest, most beautiful welds, it's a frustrating starting point for a complete novice. Save this for after you've mastered the basics of heat control with a MIG machine.
Common Pitfalls for Newbies to Avoid
Regardless of the machine you pick, there are a few traps that catch everyone. First is the "burn through." Beginners often crank the heat too high, and instead of joining the metal, they just blow a hole straight through it. Remember: if the metal is thin, lower the voltage and move faster.
Second is the struggle with "grounding." If your ground clamp isn't on clean, bare metal, the machine will struggle to arc, and you'll think your welder is broken when it's actually just a layer of paint getting in the way. Always grind a small spot of shiny metal where you attach your ground clamp.
Lastly, don't skimp on the gear. A cheap helmet that doesn't auto-darken is a recipe for "arc eye" (essentially a sunburn on your eyeball). Spend the extra 50 bucks on a reliable auto-darkening hood. Your vision is worth more than the cost of a few spools of wire.
Moving Toward Professional Certification
Once you've played around in the garage and realized you actually enjoy the process, you might want to turn this into a career. This is where a structured welding course becomes essential. Self-teaching is great for fixing a lawnmower, but if you want to weld pressure vessels or structural beams for skyscrapers, you need to understand metallurgy and weld symbols.
Professional training teaches you about the Heat Affected Zone (HAZ)-the area of metal that doesn't melt but changes properties due to the heat. Understanding this is the difference between a weld that looks good and a weld that can actually hold up a bridge. Most vocational courses start you on MIG to build confidence and then transition you into Stick and TIG as your dexterity improves.
Do I need a special electrical outlet for a welder?
Yes, most mid-to-high power welders require a 220V/240V outlet. While some small "hobbyist" MIG welders can plug into a standard 110V wall socket, they often struggle to penetrate thicker steel (anything over 1/8th inch). If you're serious about welding, you'll likely need an electrician to install a dedicated 240V circuit in your garage to avoid tripping your breakers.
Is it dangerous to weld in a home garage?
It can be if you don't have ventilation. Welding fumes-especially from galvanized steel (which contains zinc)-can cause "metal fume fever," which feels like a nasty flu. Always open your garage door, use a fan to blow smoke away from your face, and never weld near flammable liquids like gasoline or oily rags.
Which welding wire should I buy for my first project?
For general purpose projects, go with ER70S-6 mild steel wire. It's the industry standard for MIG welding and works on almost everything you'll find in a typical home project. If you're using a flux-core machine, make sure you buy "gasless" wire; if you put gasless wire in a gas-shielded machine, it won't work correctly.
Can I weld aluminum with a cheap MIG welder?
Generally, no. Aluminum requires a "spool gun" or a "push-pull' system because aluminum wire is too soft and will tangle inside the machine's feed mechanism. Additionally, you need 100% Argon gas, whereas steel usually uses a mix of Argon and CO2. For aluminum, TIG is the preferred method, though it's much harder to learn.
How long does it take to become "proficient" at MIG welding?
Most people can produce a strong, functional weld after about 10 to 20 hours of focused practice. However, moving from "functional" to "professional"-where your beads are perfectly consistent and you have zero defects-usually takes several months of daily practice and a bit of guidance from an experienced welder.
Next Steps for Your Welding Journey
If you're still undecided, start by visiting a local maker space or a community college. Most offer a "taster" session where you can try all four types of welding in a single afternoon. If you prefer to go the DIY route, buy a basic MIG welder, a few sheets of scrap mild steel, and a decent auto-darkening helmet.
Start with simple "butt welds" (two pieces of metal side-by-side) and "lap welds" (one piece overlapping another). Once you stop blowing holes through your metal and start producing smooth, concave beads, you'll know you've moved past the beginner stage. From there, the world of custom fabrication and metal art opens up to you.


Write a comment