Woodworking Skills: Simple Steps to Start Building Anything
If you’ve ever watched a video of someone turning a plain board into a sturdy chair, you probably thought, “I could never do that.” The truth is, most woodworking projects break down into a few basic skills you can learn one by one. In this guide we’ll point out the tools you need, the safety habits that keep you safe, and the core techniques that turn raw wood into finished pieces.
Essential Tools and Safety
First off, you don’t need a full workshop to get good at woodworking. A reliable handsaw, a set of screwdrivers, a tape measure, and a cordless drill cover the majority of beginner projects. As you grow, add a circular saw, a random‑orbit sander, and a basic router. Keep your tools sharp – a dull blade is more dangerous than a sharp one because it can slip.
Safety isn’t optional. Wear safety glasses every time you cut or sand, and use ear protection when you’re on louder equipment. A dust mask helps you avoid breathing fine wood particles, especially when sanding. Keep your work area tidy; a clear bench means fewer accidents and smoother workflow.
Core Skills to Master
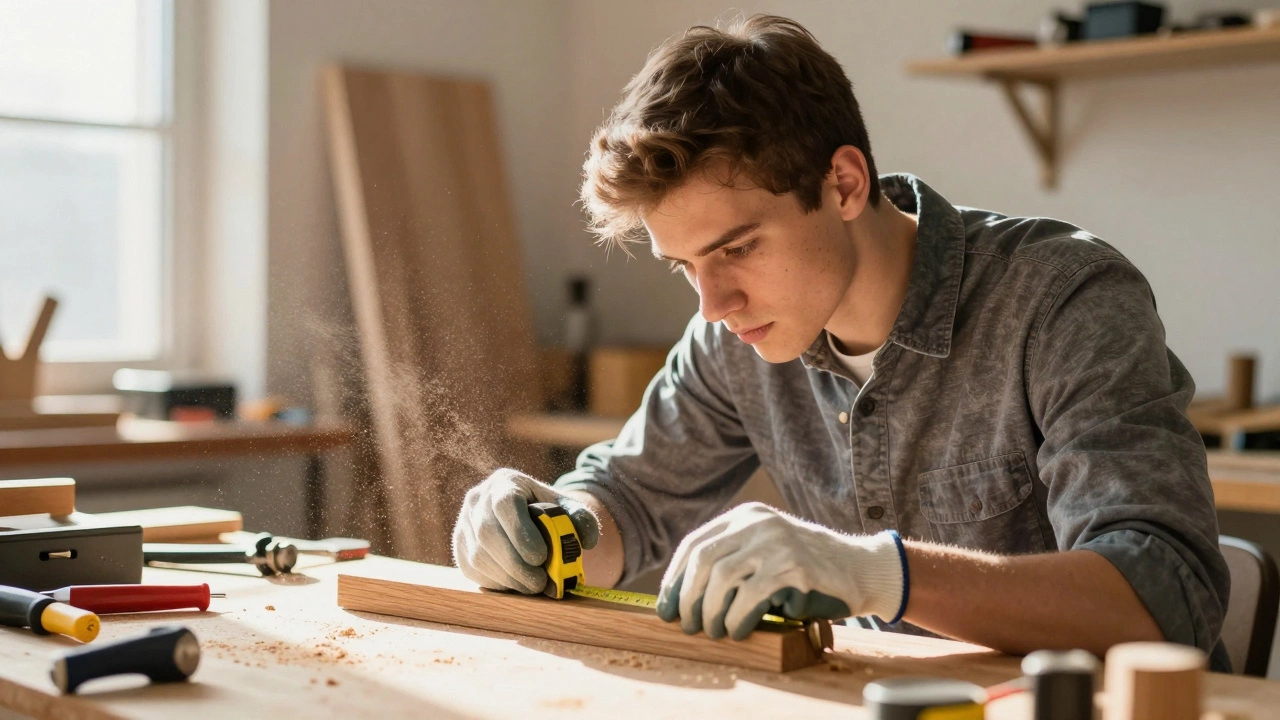
Measuring and marking is the foundation of every project. Double‑check every cut with a tape measure and a carpenter’s square. A small mistake early on can waste material and time later.
Basic cuts like straight cuts, miter cuts, and bevel cuts are easy once you get the hang of guiding the saw blade. Practice on scrap pieces before moving to your main material.
Joinery is where woodworking gets exciting. Start with simple joints: butt joints, pocket‑hole joints, and dowel joints. These require only a drill and a pocket‑hole jig or a doweling kit. When you feel comfortable, try more advanced joints like dovetails or mortise‑and‑tenon – they add strength and a professional look.
Fastening includes screws, nails, and glue. Using a combination of glue and screws gives the strongest bond. Pre‑drill pilot holes to avoid splitting the wood, especially near edges.
Finishing protects your work and makes it look polished. Sand with progressively finer grit (80, 120, 220) then wipe clean. Choose a finish that matches your project – a clear polyurethane for durability, a wax for a soft sheen, or a stain for color depth.
Putting it all together is easier when you follow a small project from start to finish. A simple wooden box, a stool, or a picture frame lets you practice measuring, cutting, joining, and finishing in one go. Treat each step as a learning moment, and don’t rush. The more you repeat the process, the more natural it becomes.
Online tutorials, local workshops, and community maker spaces are great places to pick up new tricks. Ask questions, share your work, and watch how others solve problems. The woodworking community is supportive and loves to see newcomers succeed.
Remember, the key to mastering woodworking skills isn’t talent; it’s consistent practice and a willingness to learn from mistakes. Grab a piece of pine, set up a safe workspace, and start building. In a few weeks you’ll notice a big jump in confidence and the quality of your projects.


