Get Started with MIG Welding: Courses, Tips, and Certification
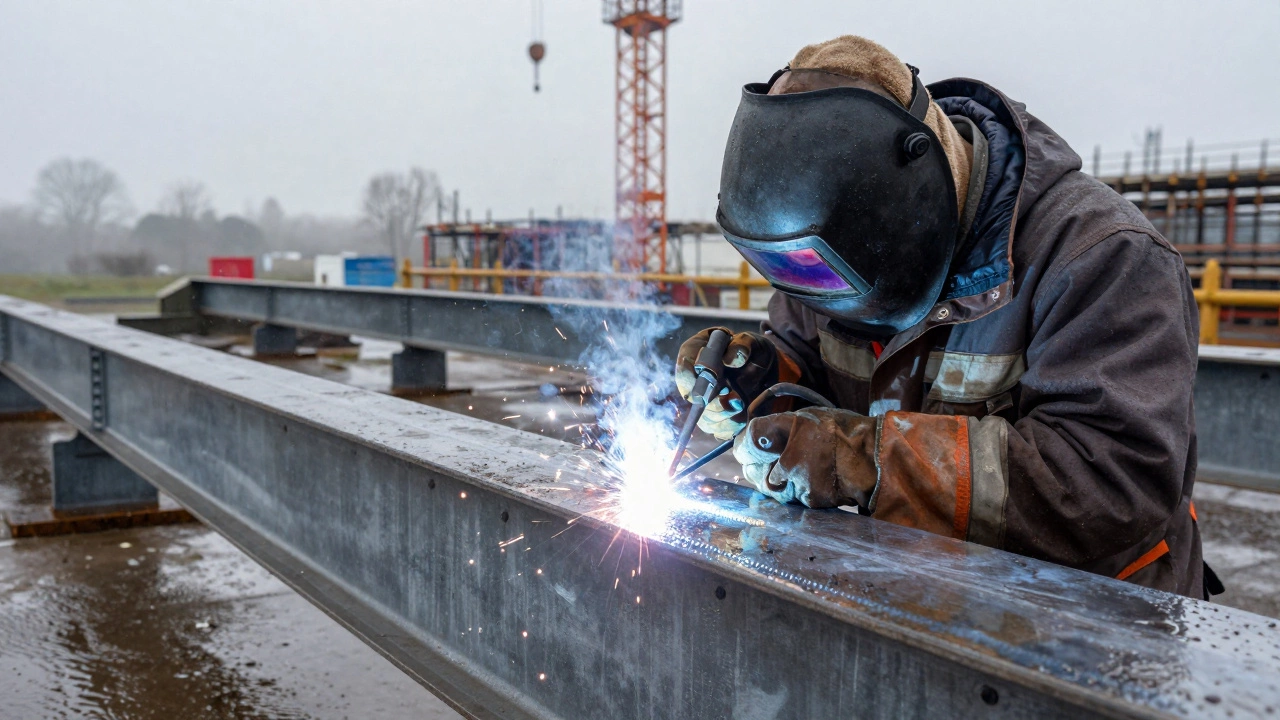
If you’ve ever watched a spark fly and wondered how to do it yourself, MIG welding is the place to begin. It’s the most popular method for beginners because the machine feeds wire automatically, so you focus on the torch hand and the weld pool. At GoSkill Vocational Training we break the learning curve into bite‑size steps, so you can start welding solid joints in weeks, not months.
Why Choose MIG Welding?
MIG (Metal Inert Gas) welds quickly, works on thin and thick metal, and needs less preparation than stick welding. The constant wire feed means you can keep a steady bead without constantly feeding filler manually. That speed translates into higher productivity on job sites, and most employers list MIG experience as a core requirement.
What a Beginner Course Covers
Our MIG welding course is built around three practical blocks:
- Safety first: proper eye protection, ventilation, and fire‑resistant clothing.
- Machine setup: choosing the right voltage, wire diameter, and gas mix for steel, aluminium or stainless steel.
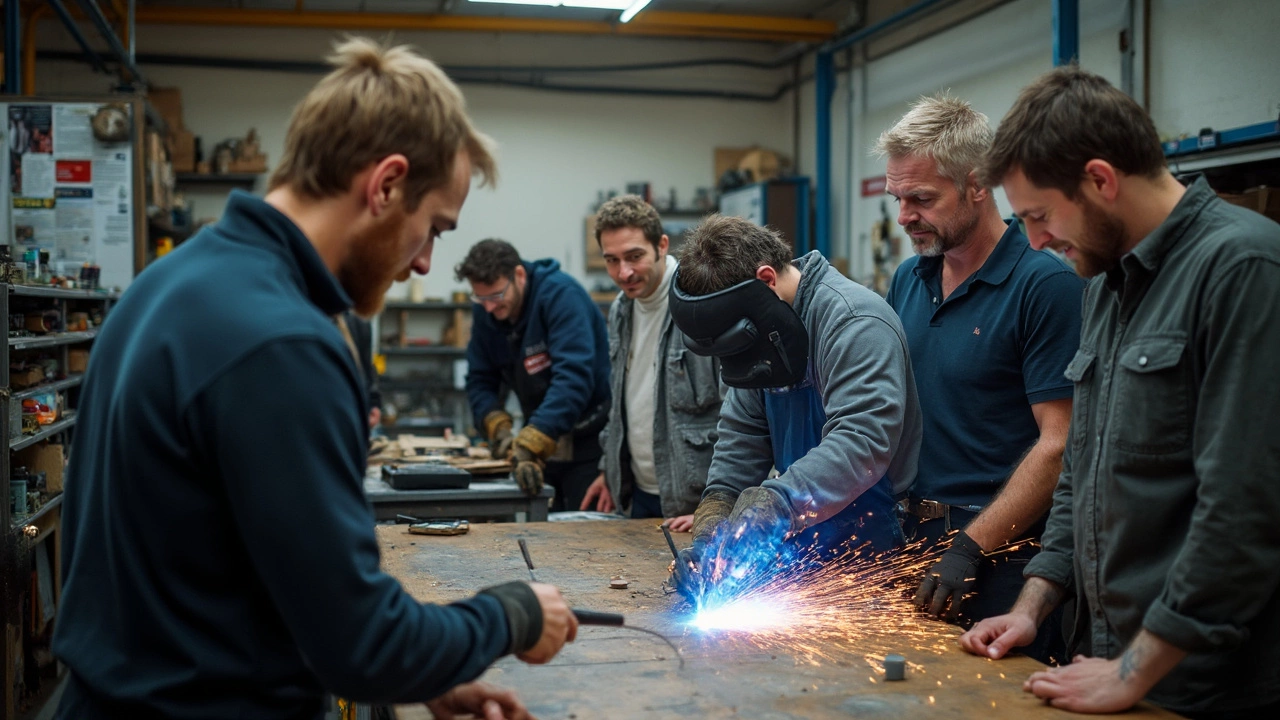
- Hands‑on builds: simple bevel joints, corner joints, and lap joints that teach you how to control heat and travel speed.
Each block ends with a short assessment. You get feedback right away, so mistakes become learning moments, not wasted time.
By the end of the course you’ll be able to read a welding symbol, set up a MIG machine for common metals, and produce clean, strong welds that pass a visual inspection.
Fast‑Track Tips to Boost Your Skills
1. Practice the torch angle. Keep it around 15‑20 degrees from vertical. Too flat and you’ll get a soggy bead; too steep and you’ll burn through the metal.
2. Control travel speed. Move the torch at a steady pace. If you go too slow, the weld will be too wide and weak; too fast and you’ll get gaps.
3. Use the right gas. For mild steel, a mix of 75% argon and 25% CO₂ works best. For aluminium, pure argon gives a clean finish.
4. Keep the wire clean. A dirty wire introduces contaminants that cause porosity. Wipe the spool with a dry cloth before each session.
5. Check the joint preparation. Remove rust, paint, and oil. Even a small amount of debris can make a joint fail the inspection.
Getting Certified
After you finish the course, you can sit for the City & Guilds Level 2 MIG welding certification. The exam is split into a theory paper (safety, gas, settings) and a practical test where you weld a series of joints under supervision. Passing this certification proves you have the skills employers look for and opens doors to apprenticeships, junior welder roles, and higher‑pay jobs.
Many learners also combine MIG training with a Level 3 welding diploma to qualify for specialist roles in automotive, construction, and shipbuilding.
Next Steps
Ready to fire up the torch? Enrol in our next MIG welding batch, grab the starter kit we recommend (MIG machine, helmet, gloves, and gas bottle), and start welding your way to a new career. Have questions? Our instructors are just a call or chat away – we’ll help you choose the right course level, schedule a campus visit, or set up a virtual demo.
Remember, welding is a skill you get better at the more you practice. With the right training, solid safety habits, and a bit of patience, you’ll be turning metal together in no time.