
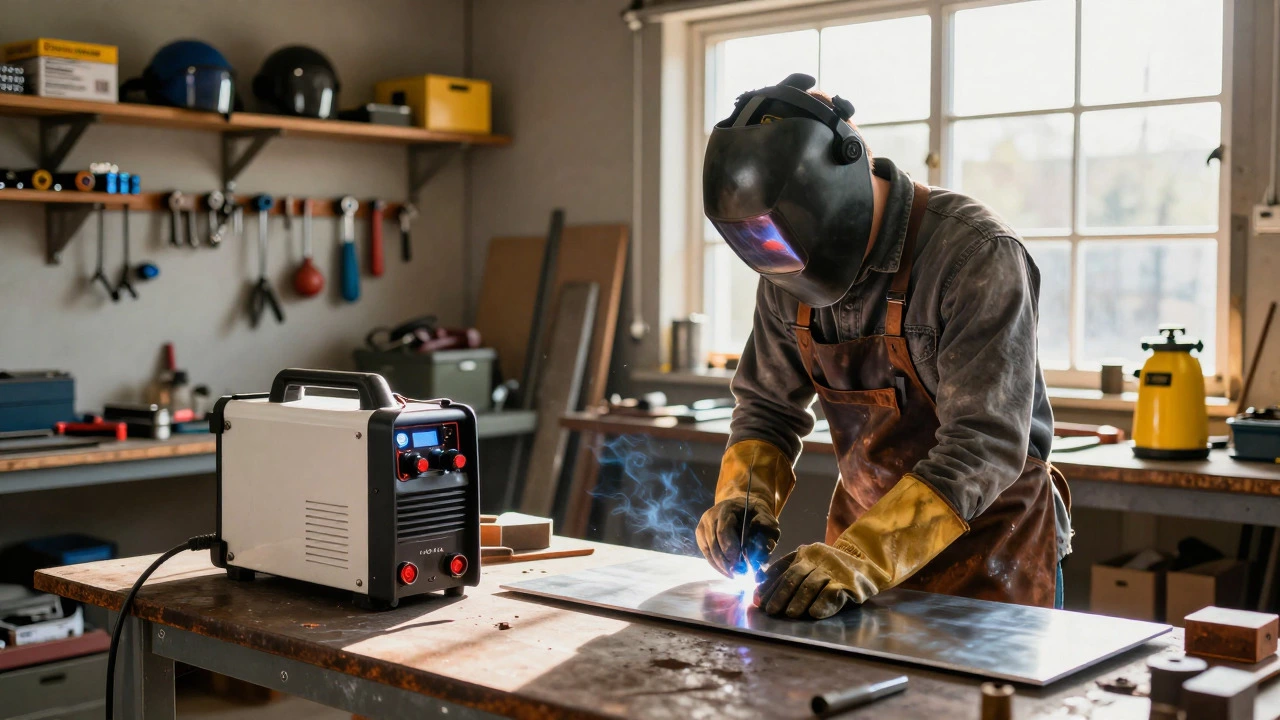
Welding Setup Cost Estimator
Configure your desired welding setup to estimate initial investment costs in GBP (£).
You’ve seen the sparks flying in YouTube videos. You’ve watched a friend fix a gate hinge with a few quick passes of a torch, and it looked almost like magic. Now you’re wondering: can I just buy a machine, watch some tutorials, and become a welder without spending thousands on formal training? The short answer is yes, but the long answer comes with a heavy dose of caution. Welding is one of those skills where the gap between "making metal stick" and "making metal safe" is measured in millimeters and years of practice.
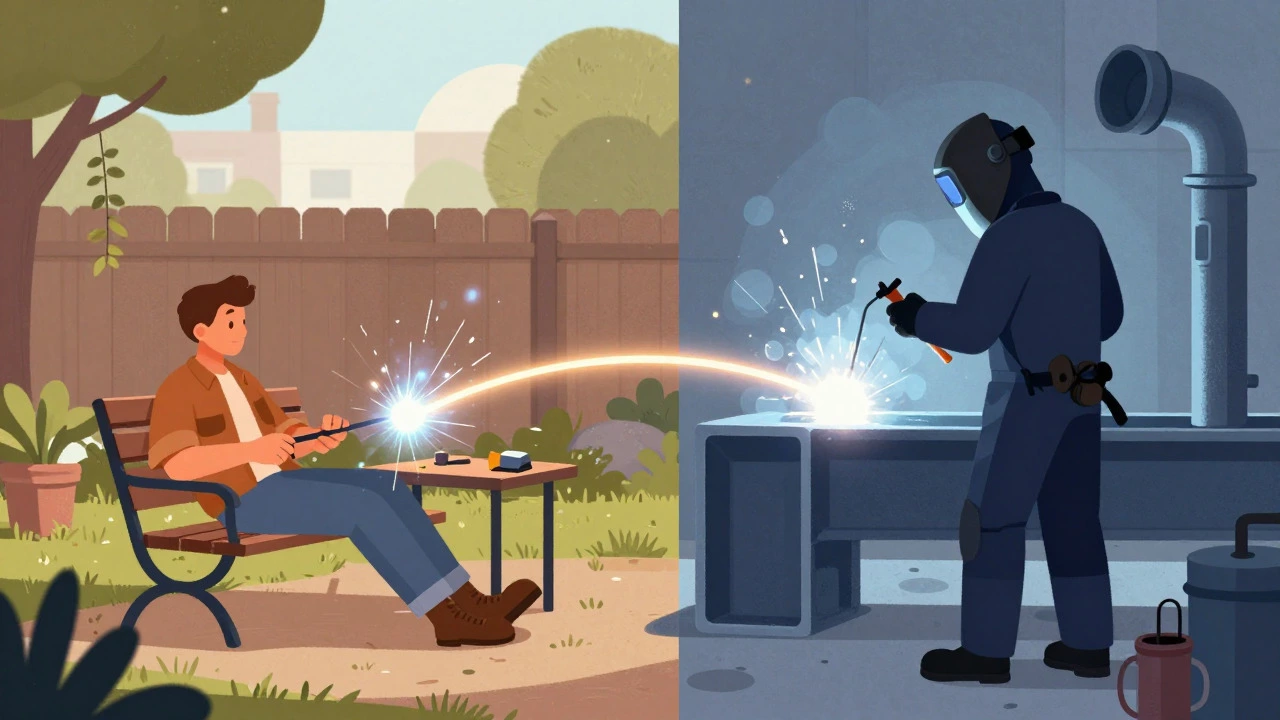
For hobbyists fixing farm equipment or building garden furniture, self-teaching is entirely viable. For anyone hoping to work professionally-especially in structural steel, pipelines, or aerospace-relying solely on self-study is risky, often illegal, and definitely not enough to get hired. Let’s break down what you can realistically achieve on your own, where you need professional intervention, and how to bridge that gap safely.
The Reality Check: Hobbyist vs. Professional
Before you spend a penny on gear, you need to define your goal. This distinction dictates everything from the machine you buy to the risks you take.
If you are looking to build a motorcycle chopper frame, repair a tractor part, or create artistic metal sculptures, DIY welding is your path. Here, aesthetics and basic strength matter. You have time to experiment, fail, and re-weld. The cost of failure is usually just wasted metal and electricity.
If you want to join a construction crew, work on oil rigs, or fabricate pressure vessels, professional welding is a different beast. In this world, a bad weld doesn’t just look ugly; it causes bridges to collapse, pipes to burst, and people to get hurt. Employers don’t care if you watched ten hours of video. They care about your AWS D1.1 (American Welding Society) or BS EN ISO 9606 (European standard) certifications. These require passing rigorous tests under strict supervision. You cannot self-certify for these roles.
| Goal | Feasibility of Self-Teaching | Key Requirement |
|---|---|---|
| Hobby/Farm Repair | High | Patient practice & safety gear |
| Artistic Fabrication | Medium-High | TIG/MIG skill & design sense |
| Construction/Structural | Low | Certification (AWS/ISO) |
| Pipeline/Aerospace | Very Low | Specialized Apprenticeship |
Choosing Your First Machine: Stick, MIG, or TIG?
Not all welding processes are created equal when it comes to learning curve. If you try to start with the hardest process, you will quit in a week. If you pick the easiest, you might plateau too quickly. Here is how the three main types stack up for a beginner.
MIG Welding (Metal Inert Gas), also known as GMAW, is widely considered the best starting point for self-learners. It uses a continuous wire feed and a shielding gas (usually Argon/CO2 mix). Think of it like using a hot glue gun for metal. The machine does most of the work regarding arc length and wire speed. You just guide the gun. It’s clean, fast, and forgiving. If you’re working in a garage with mild steel car parts or shelving units, MIG is your friend.
Stick Welding (SMAW) is the old-school method. It uses a consumable electrode coated in flux. It’s incredibly versatile-you can weld outdoors in high wind, on rusty metal, and in dirty conditions. However, it has a steep learning curve. Maintaining the arc requires steady hands and good timing. It’s messy, produces lots of slag that needs chipping off, and looks less pretty than MIG. But if you’re doing farm repairs in Bristol during a rainy storm, Stick might be your only option.
TIG Welding (GTAW) is the precision instrument. It uses a non-consumable tungsten electrode and a separate filler rod. You have to hold the torch in one hand and feed the filler rod with the other, while controlling foot pedals for heat. It produces the strongest, cleanest welds and works on aluminum, stainless steel, and thin sheet metal. But it is difficult. Very difficult. Most self-taught welders struggle with TIG for months before they can make a consistent bead. Save this for later.
The Safety Non-Negotiables
Here is where many self-taught welders cut corners, and here is where things go wrong. Welding isn’t just fire; it’s intense ultraviolet radiation, toxic fumes, and extreme heat. Treating safety as an afterthought is amateur hour.
Your helmet is critical. Auto-darkening helmets are worth every penny. They switch from light to dark instantly when you strike an arc, allowing you to see your work position clearly. Look for a shade number appropriate for your amperage (Shade 10-13 for most hobbyist work). Don’t use a cheap passive lens unless you want to ruin your eyesight with "arc eye" (photokeratitis), which feels like having sand in your eyes for two days.
Fumes are the silent killer. Welding zinc-coated galvanized steel releases zinc oxide fumes, which cause "metal fume fever." Symptoms include chills, fever, and muscle aches. Always weld in a well-ventilated area. Use an exhaust fan, open windows, or better yet, wear a PAPR (Powered Air Purifying Respirator) mask. A simple dust mask won’t stop metallic particulates.
Fire risk is real. Sparks travel further than you think. Clear your workspace of flammable materials-rags, solvents, cardboard. Keep a fire extinguisher nearby. Wear leather gloves and a flame-resistant jacket. Cotton clothes can catch fire; synthetics melt onto skin. Dress like you’re going into battle.
Building Your Practice Curriculum
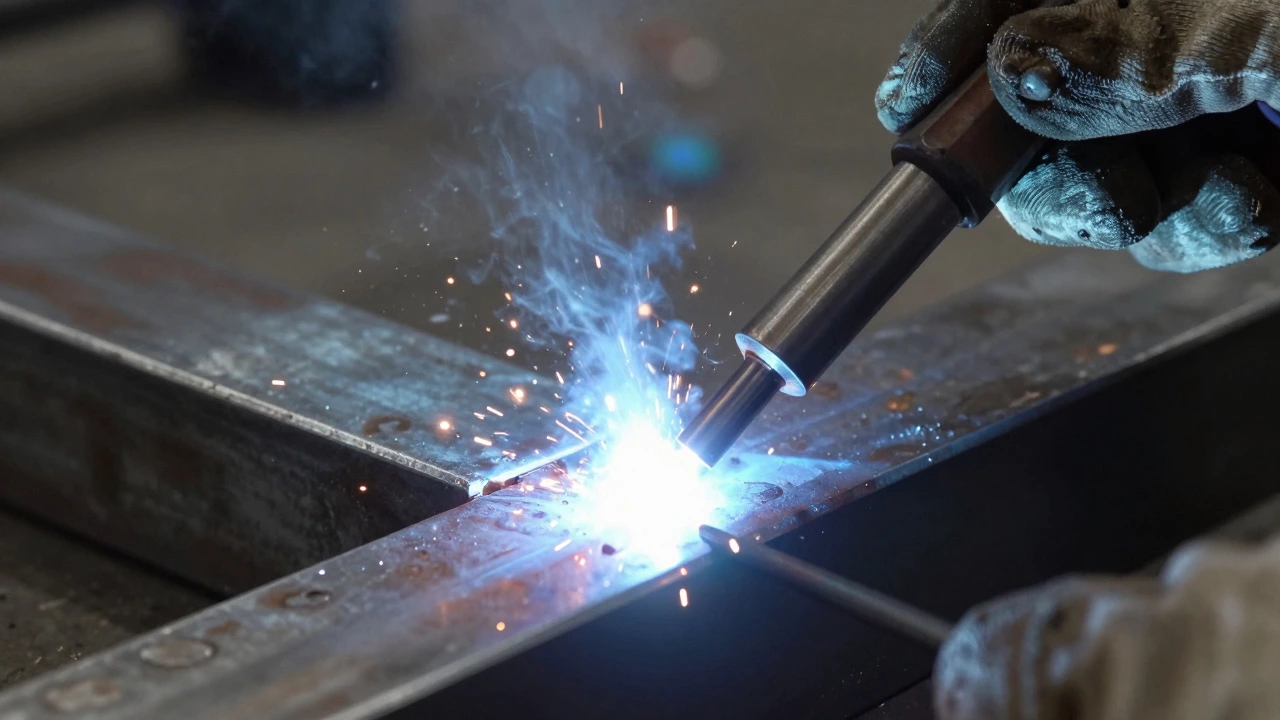
Watching videos is not learning. Doing is learning. You need a structured approach to avoid developing bad habits that are hard to unlearn later. Start with scrap metal. Buy cheap, thick mild steel plate from a local supplier. Thickness matters: 3mm to 6mm is ideal for beginners because it holds heat well and forgives minor errors.
- The Stringer Bead: Start by laying beads side-by-side without overlapping. Focus on keeping a consistent speed and angle. The goal is straightness and uniform width. If your bead looks like a caterpillar, you’re moving too slow. If it’s thin and weak, you’re moving too fast.
- The Weave: Once you can lay straight beads, learn to weave the torch slightly side-to-side. This helps fill wider gaps and ensures penetration across the joint. Imagine drawing a small triangle or circle as you move forward.
- Joint Preparation: Learn to cut and fit joints. A V-groove or butt joint must be clean and tight. If there’s a gap, molten metal will fall through. Grind edges to remove rust and paint. Fit-up is 50% of the job.
- Positional Welding: Start flat (1G/1F). Then move to horizontal, vertical, and finally overhead. Overhead welding is challenging because gravity pulls the molten pool down. You need faster travel speeds and lower heat settings.
Use resources like American Welding Society (AWS) guides or free online courses from platforms like Coursera or YouTube channels dedicated to technical welding. Look for instructors who show close-ups of the puddle, not just wide shots of sparks.
When Self-Study Hits a Wall
Even the most dedicated self-learner will eventually hit limitations. You might master flat MIG welds but struggle with root passes on pipe. You might not understand metallurgy-why certain steels crack when cooled too quickly (hydrogen cracking). This is where formal education adds value.
Consider taking a short course at a local college or vocational center. In the UK, NVQ Level 2 in Welding provides foundational theory and supervised practice. It’s not a full apprenticeship, but it gives you feedback from qualified instructors. They can spot subtle issues in your technique-like improper electrode angle or inconsistent travel speed-that you wouldn’t notice on your own.
If you aim for employment, look into apprenticeships. These combine on-the-job training with classroom learning. They are competitive but offer a clear path to certification and employment. Many employers sponsor their apprentices, reducing financial burden.
Cost Breakdown: What Will It Set You Back?
Let’s talk numbers. Starting out requires investment, but it doesn’t have to bankrupt you.
- MIG Welder: £300-£800 for a decent dual-voltage machine (works on 230V domestic supply).
- Helmet: £50-£150 for a quality auto-darkening model.
- Gloves & Jacket: £30-£60 for leather basics.
- Gas Cylinder: £50 deposit + £15-£20 per refill (Argon/CO2 mix).
- Consumables: Wire (£20-£40 per kg), electrodes (£10-£20 per kg).
- Scrap Metal: Variable, but budget £50-£100 initially for practice plates.
Total initial outlay: approximately £500-£1,200. Compare this to a full vocational course, which can cost several thousand pounds. For hobbyists, self-teaching is economically sensible. For career-changers, view early self-practice as a trial run before committing to expensive formal training.
Common Pitfalls to Avoid
I’ve seen countless beginners make the same mistakes. Learn from them.
Ignoring Cleanliness: Rust, oil, and paint contaminate welds, causing porosity (tiny holes) and weakness. Always grind surfaces bare before welding. It takes five minutes extra but saves hours of frustration.
Wrong Settings: Voltage and wire feed speed must match material thickness. Too low, and you don’t penetrate. Too high, and you burn through. Consult your machine’s manual chart. When in doubt, test on scrap first.
Rushing Progression: Don’t jump to complex projects like engine mounts until you can consistently weld a flat plate. Master the fundamentals. Speed comes with competence, not the other way around.
Neglecting Ergonomics: Welding involves awkward positions. Stretch regularly. Use supportive shoes. Protect your back. Chronic pain ends careers faster than poor welds.
How long does it take to learn welding on your own?
For basic competency in MIG welding, expect 3-6 months of regular practice (10+ hours per week). To reach a level where you can tackle complex projects confidently, plan for 1-2 years. Mastery is a lifelong journey.
Do I need a license to weld in the UK?
No general license exists for hobbyists. However, professional employment requires specific certifications (e.g., BS EN ISO 9606) issued by accredited bodies. These prove you meet industry standards for safety and quality.
Is MIG or TIG easier for beginners?
MIG is significantly easier. Its automated wire feed simplifies operation, allowing beginners to focus on torch angle and travel speed. TIG demands coordinated hand movements and precise heat control, making it much harder to master initially.
Can I weld aluminum with a cheap MIG machine?
Most entry-level MIG machines are designed for steel. Welding aluminum requires a spool gun or push-pull system due to aluminum wire’s softness and tendency to tangle. Budget accordingly if aluminum is a priority.
What is the most dangerous aspect of DIY welding?
Inhalation of toxic fumes is often underestimated. Zinc, lead, and chromium compounds released during welding can cause serious respiratory issues over time. Proper ventilation and respiratory protection are essential.



Write a comment