Everything You Need to Know About TIG Welding
Ever wondered why some welders can create clean, precise joints that look like art? Chances are they’re using TIG welding. It’s the go‑to method for stainless steel, aerospace parts, and any job where look matters. The good news? You don’t need years of experience to get decent results – just the right guidance and a bit of practice.
What Makes TIG Welding Different?
TIG stands for Tungsten Inert Gas. In plain English, you use a non‑melting tungsten electrode to produce an arc, while a separate filler rod adds material to the joint. The inert gas – usually argon – protects the weld from air, so you get a clean, crack‑free bead. Compared to MIG, which feeds wire automatically, TIG gives you full control over heat and filler. That means tighter tolerances and less spatter.
Getting Started: Gear and Safety
First things first – you need the right gear. A decent TIG machine (120‑200 A is fine for most hobby work), a welding torch, a foot pedal for voltage control, and a good set of tungsten rods are the basics. Don’t forget safety: welding helmet with a dark shade, gloves, long sleeves, and proper ventilation. Even if you’re only welding a few inches a day, the UV light and fumes can be harmful.
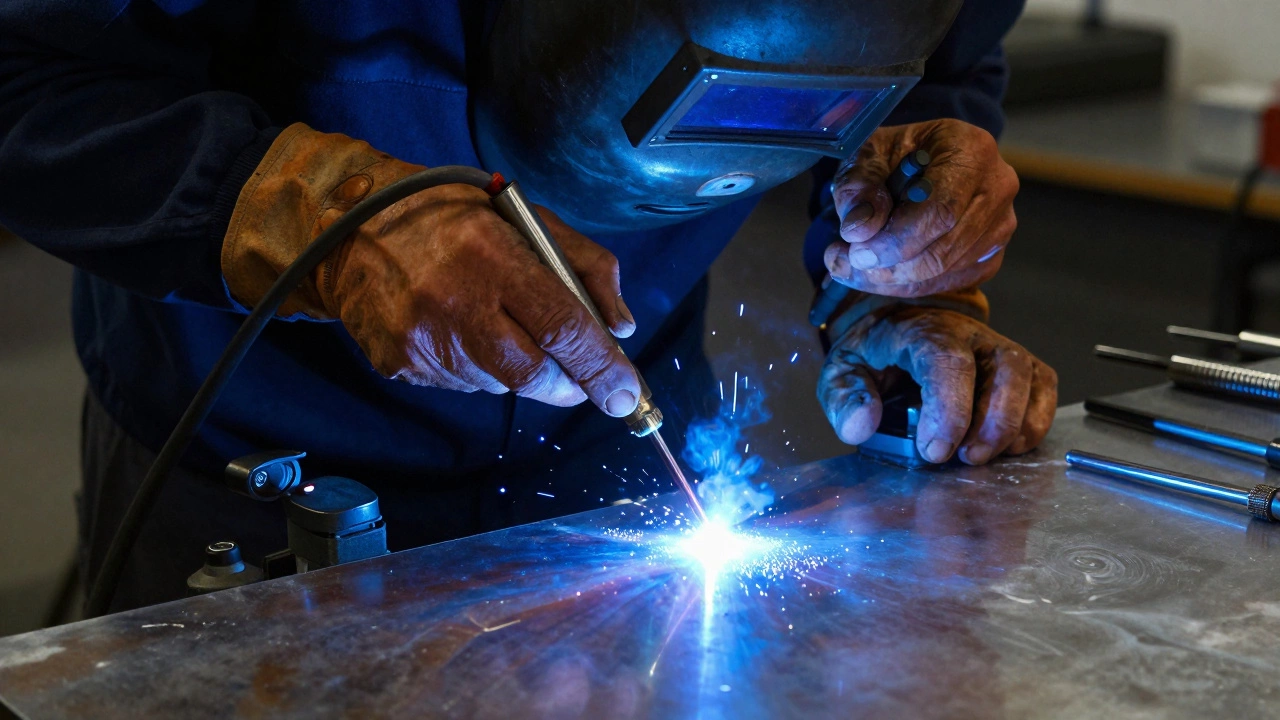
Once you’ve got your setup, practice the torch hand. Hold it at a 70‑80° angle, keep the tip about 1 mm from the workpiece, and watch the arc. A steady hand is key – think of it like drawing a straight line with a marker, but you’re also feeding filler metal at the same time.
Start with a simple butt joint on mild steel. Clean the edges with a grinder, apply a light coat of spray cleaner, and clamp the pieces tightly. Turn on the gas, strike the arc, and let the tungsten melt. When the pool forms, add filler rod by hand, moving it smoothly along the joint. If the bead looks too bubbly, lower the amperage; if it’s shallow, bump it up a bit.
Don’t get discouraged by a few rough beads. TIG is all about muscle memory. Spend 30‑45 minutes a day welding test pieces, and you’ll notice the arc steadies and the filler flows more naturally.
As you improve, try different metals – aluminum needs a clean surface and a spool gun or AC machine, while stainless steel benefits from a higher heat input. Each material has a sweet spot for amperage and travel speed, so keep a notebook of settings that work for you.
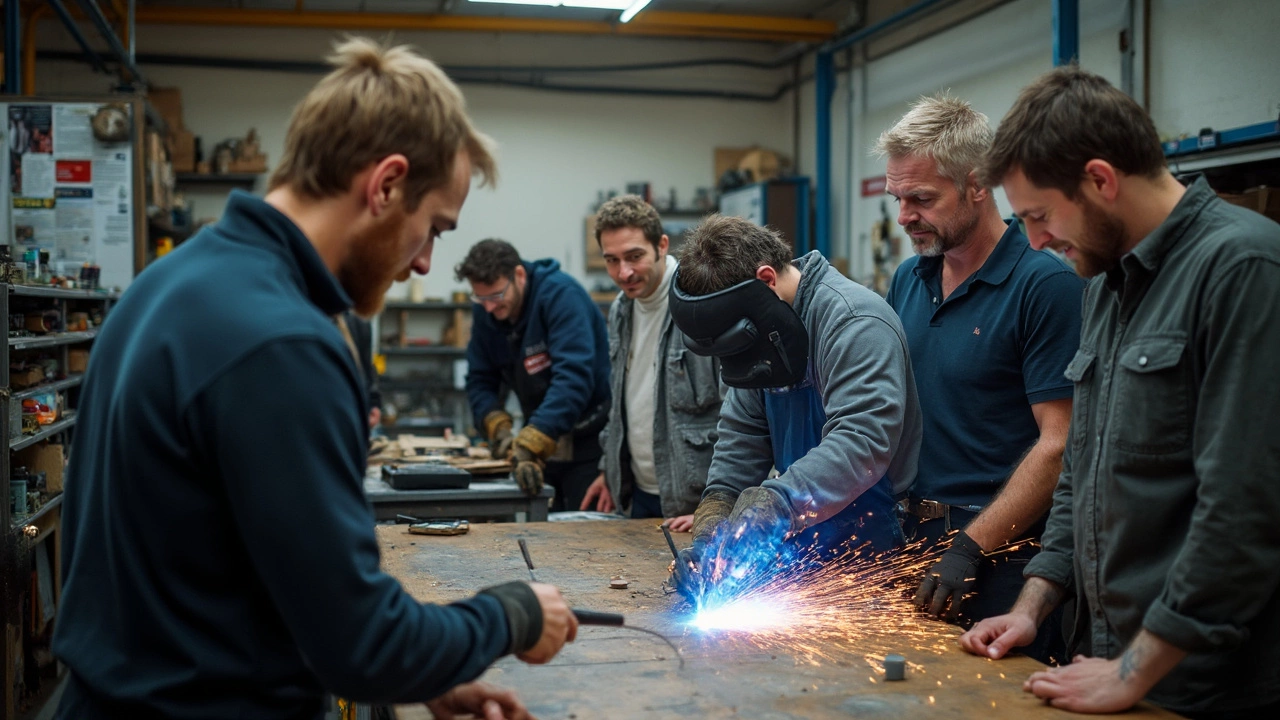
When you feel comfortable with basics, look into certification. In the UK, the City & Guilds Level 2 Certificate in TIG Welding is widely recognised. The exam tests theory, safety, and hands‑on welding on a range of joints. You can prep with a short course at a local training centre – many offer blended online theory plus a day in the workshop.
Why bother with a certificate? It boosts your CV, opens doors to apprenticeships, and can even raise your hourly rate. Employers see certification as proof you understand the process, can read welding symbols, and follow health‑and‑safety rules.
Finally, keep learning. Join online forums, watch step‑by‑step videos, and ask for feedback on your welds. The more you expose yourself to different joint designs – lap, T‑joint, corner – the more versatile you become.
Bottom line: TIG welding isn’t magic, but it does reward patience and practice. With the right gear, safety habits, and a bit of structured training, you can produce professional‑grade welds without spending years in a factory. Grab a torch, fire up the argon, and start building those clean, strong joints today.