
5 Step Safety Rule Interactive Checklist
Preparation
Identify energy sources and gather tools.
Shutdown
Turn off using normal controls.
Isolation
Physically disconnect energy supply.
Lock & Tag
Apply personal locks and warning tags.
Verification
Test for zero energy state.
Select a step to begin
Safety Protocol Complete!
You have successfully verified the Zero Energy State. It is now safe to proceed with maintenance.
You’ve probably heard the phrase "lockout tagout" thrown around on job sites, but there’s a specific framework that makes it actionable: the 5 step safety rule. It isn’t just a checklist for compliance; it’s the difference between a routine maintenance task and a catastrophic accident. When machinery moves unexpectedly or electricity surges through a panel you’re working on, people get hurt. This protocol exists to stop that from happening by ensuring energy sources are completely neutralized before you touch anything.
In industries ranging from manufacturing to construction, understanding these five steps is non-negotiable. Whether you’re an electrician, a machine operator, or a facility manager, knowing how to isolate equipment correctly protects your life and the lives of your colleagues. Let’s break down exactly what each step entails and why skipping even one can have deadly consequences.
Understanding the Core Concept: Why Isolation Matters
Before diving into the steps, it helps to understand what we’re actually trying to achieve. The goal is zero energy state. Machinery doesn’t just run on electricity; it stores energy in many forms. There’s hydraulic pressure in lifts, pneumatic pressure in air tools, gravitational potential in raised arms, and thermal energy in hot pipes. If you only cut the power switch, the system might still hold enough stored energy to crush a hand or burn skin.
The 5 step safety rule provides a systematic approach to dealing with all types of hazardous energy. It transforms a vague idea of "being careful" into a concrete set of actions that anyone can follow. This structure is recognized globally, often aligning with standards like OSHA’s Control of Hazardous Energy (Lockout/Tagout) standard in the US or similar regulations in the UK and EU.
Is the 5 step safety rule the same as Lockout Tagout?
They are closely related. Lockout Tagout (LOTO) is the broader regulatory standard and practice. The 5 step safety rule is the specific procedural sequence used to implement LOTO effectively. Think of LOTO as the law, and the 5 steps as the method you use to obey it.
Step 1: Preparation - Know What You Are Dealing With
Most accidents happen because workers rush into isolation without understanding the system. The first step is preparation. You need to identify every single energy source connected to the equipment. Is it plugged into a 480-volt outlet? Is it connected to a compressed air line? Does it have a battery backup?
This phase involves reviewing the equipment manual and talking to previous operators. You also need to gather the right tools. Do you have the correct padlocks? Do you have the right sized lockout hasps? Are your tags legible? Trying to improvise locks with tape or wire ties is a common mistake that leads to failure later. Preparation ensures you aren’t caught off guard when you start shutting things down.
- Identify all energy sources (electrical, mechanical, hydraulic, pneumatic, chemical, thermal).
- Determine the type and magnitude of energy involved.
- Gather appropriate lockout/tagout devices.
- Notify affected employees who may be using the equipment.
Step 2: Shutdown - Turning It Off Safely
Once you know what you’re dealing with, you shut the equipment down. But this isn’t just hitting the big red emergency stop button. An E-stop is designed to halt motion quickly, not to isolate energy. In fact, relying solely on an E-stop is dangerous because it can be reset accidentally.
You must use the normal operating controls to turn the machine off. Follow the manufacturer’s shutdown procedure. If the machine is running a cycle, let it finish if safe, or initiate a controlled stop. This prevents sudden jerks or releases of pressure that could injure someone nearby during the transition. The key here is orderliness. Chaos during shutdown creates hidden hazards.

Step 3: Isolation - Physically Cutting the Supply
This is the critical moment where you physically disconnect the energy source. For electrical systems, this means opening the circuit breaker or pulling the plug. For pneumatic lines, it means closing the valve and blanking the line if necessary. For gravity-fed systems, it might mean blocking a roller or lowering a load.
The isolation device must be capable of being locked out. A simple push-button switch cannot be isolated effectively unless there is a disconnect switch upstream. You need to ensure that no one can simply flip a switch back on. This step requires physical interaction with the energy control points, which is why you must be trained and authorized to do so. Unauthorized personnel should never perform isolation.
| Energy Type | Isolation Method | Verification Check |
|---|---|---|
| Electrical | Open circuit breaker/disconnect switch | Voltage tester shows 0V |
| Pneumatic/Hydraulic | Close valves and bleed lines | Pressure gauge reads zero |
| Mechanical/Gravity | Block, brace, or lower loads | Physical inspection of position |
| Thermal | Allow cooling or insulate | Temperature check below safe limit |
Step 4: Application of Locks and Tags - Making It Personal
Now that the energy is cut off, you apply your personal lock and tag. This is the heart of the "Lockout" part of LOTO. Each worker who is servicing the machine places their own unique lock on the isolation point. If three people are working on the same machine, there should be three locks. This ensures that the machine cannot be restarted until every single person has removed their lock.
The tag serves as a warning. It tells others who locked it out, when they did it, and why. It adds a layer of communication that the lock alone doesn’t provide. However, remember: tags are warnings, not physical barriers. Never rely on a tag alone. The lock is what physically prevents operation. Using group lockbox systems is acceptable for teams, but individual accountability remains key.
Step 5: Verification - Testing Before Touching
This is the step most people skip, and it’s the one that saves lives. After locking out, you must verify that the system is truly dead. Don’t assume the breaker worked. Don’t assume the valve held.
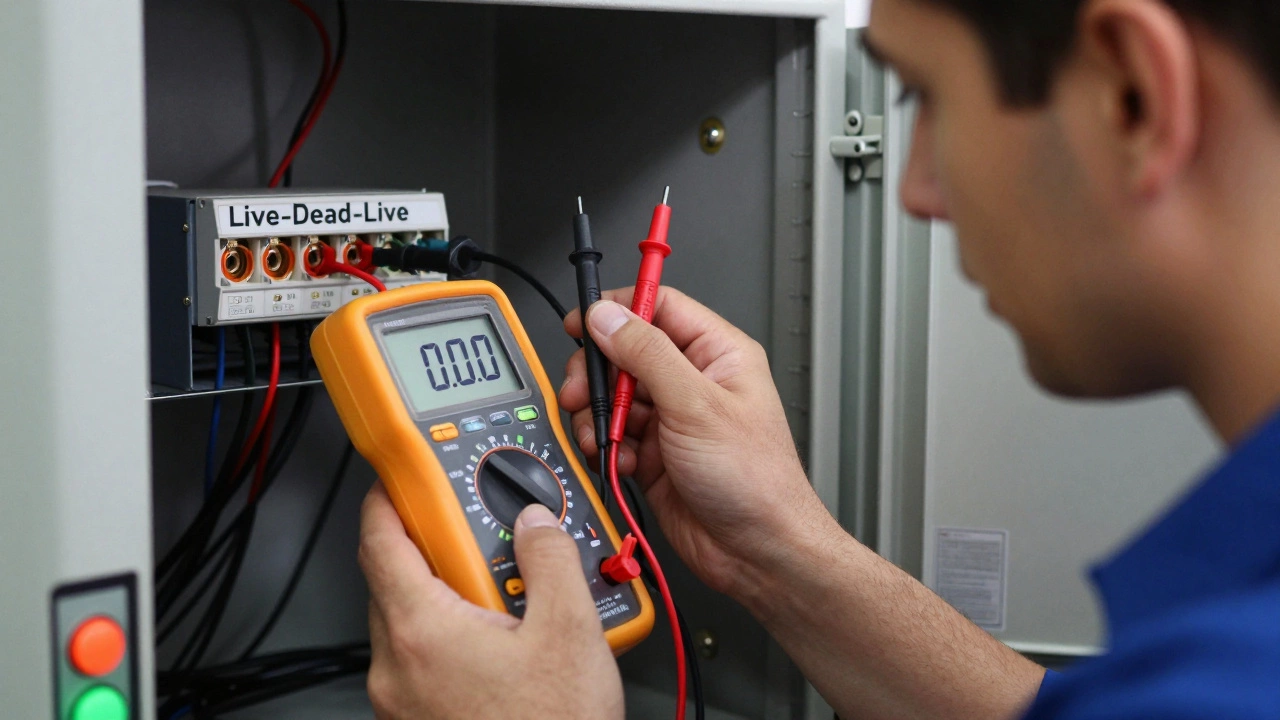
Try to start the machine using the normal controls. Push the start button. Flip the switch. Nothing should happen. Then, use a voltage tester or pressure gauge to confirm zero energy. For electrical work, test your tester on a known live source first, then on the equipment, then on the known live source again (the Live-Dead-Live test). This confirms your tool works and the circuit is dead. Only after this verification should you begin your maintenance work.
Why These Steps Cannot Be Skipped
It’s easy to think, "I’ve done this a hundred times, I don’t need to verify." That mindset is what causes incidents. Stored energy can creep back in. Capacitors discharge slowly. Valves leak over time. Verification accounts for these real-world imperfections.
Furthermore, these steps create a culture of safety. When everyone follows the same rigorous process, trust increases among team members. You know your colleague won’t surprise you with a restart because they followed the same protocol. This consistency reduces anxiety and allows workers to focus on the quality of their repair rather than fearing for their safety.
Restoring Equipment: The Reverse Process
Safety doesn’t end when the repair is done. Restoring the equipment requires just as much care. First, inspect the area to ensure tools are removed and guards are replaced. Second, notify all affected employees that the lockout is ending. Third, remove locks and tags-only the person who applied them should remove them. Finally, restore energy and perform a functional test to ensure the machine operates correctly before returning it to full production.
Can someone else remove my lock if I’m not at work?
Generally, no. Only the employee who applied the lock should remove it. If that person is unavailable, strict procedures must be followed involving management authorization, verification that the employee is not on premises, and efforts to contact them. This prevents unauthorized removal and maintains accountability.
Do I need to lock out for minor adjustments?
OSHA and other bodies allow for "minor servicing" exceptions if alternative measures provide effective protection. However, defining "minor" is risky. If the task takes more than a few minutes or involves reaching near moving parts, full lockout is safer and usually required. When in doubt, lock it out.
What happens if I lose my lock key?
You should always keep your keys on your person. If lost, treat it as an emergency removal situation. Management must verify the original locker is gone, attempt to contact them, and then cut the lock under supervision. This is a serious administrative event that highlights the need for better key control.
Is verification really necessary if I saw the breaker go off?
Yes. Breakers can fail to open fully, or backfeed from other sources can energize the circuit. Visual confirmation is not enough. Physical testing with calibrated instruments is the only way to guarantee zero energy state.
How often should I review my lockout procedures?
At least annually. Additionally, whenever equipment changes, new machines are installed, or after an incident, procedures must be reviewed and updated to reflect current conditions and risks.


Write a comment