
Carpentry Skill Progression Estimator
Fill out the form to see your estimated progress milestones.
You watch a video of someone building a stunning oak table in an afternoon and think, "I could do that." Then you try to cut a straight line with a hand saw, and your wood splinters like wet cardboard. Sound familiar? The gap between watching and doing is where most beginners get discouraged. But here is the truth: learning basic carpentry isn't about talent; it's about repetition and understanding how wood behaves.
If you are wondering exactly how long it takes to go from holding a hammer for the first time to confidently building a bookshelf or fixing a door frame, the answer depends on what you define as "basic." For some, that means assembling flat-pack furniture without stripping screws. For others, it means cutting precise mitre joints by hand. This guide breaks down the realistic timelines for different skill levels, so you know exactly what to expect before you buy your first chisel.
The Short Answer: Realistic Timelines
There is no single number because "basic" is subjective. However, based on typical progression for hobbyists and apprentices, here is a general breakdown:
- 1-4 Weeks: You can safely use power tools, measure accurately, and assemble pre-cut kits. You understand safety protocols and basic tool maintenance.
- 3-6 Months: You can build simple projects like birdhouses, shelves, or small tables using joinery techniques (butt joints, pocket holes). You make fewer mistakes and correct them faster.
- 6-12 Months: You are comfortable with layout, cutting angles, and finishing. You can tackle medium-sized projects like window seats or simple cabinets.
- 1-2 Years: You have developed muscle memory for hand tools. You can read complex plans and execute traditional joinery (mortise and tenon) with reasonable precision.
Notice the jump between months and years? That is where the real craft begins. But for most homeowners wanting to improve their DIY game, hitting the 3-month mark changes everything.
What Counts as "Basic" Carpentry?
Before we talk time, let’s define the destination. If you aim to become a master cabinetmaker, you’re looking at decades. But if you want to be handy around the house, your goals are likely different. Basic carpentry involves measuring, marking, cutting, joining, and installing wood components for structural or decorative purposes.
At this level, you aren’t carving intricate scrollwork. You are learning to:
- Read a tape measure correctly (including fractions).
- Cut square ends on lumber using a circular saw or miter saw.
- Drill pilot holes to prevent splitting.
- Use glue and screws effectively.
- Sand surfaces smooth and apply stain or paint evenly.
These skills form the foundation. Once you nail these, everything else builds on top of them.
Stage 1: Safety and Tool Familiarity (Weeks 1-4)
Your first month shouldn’t involve building anything fancy. In fact, many instructors recommend not starting a project until you’ve spent hours just handling tools. Why? Because fear makes you clumsy, and clumsy leads to injuries.
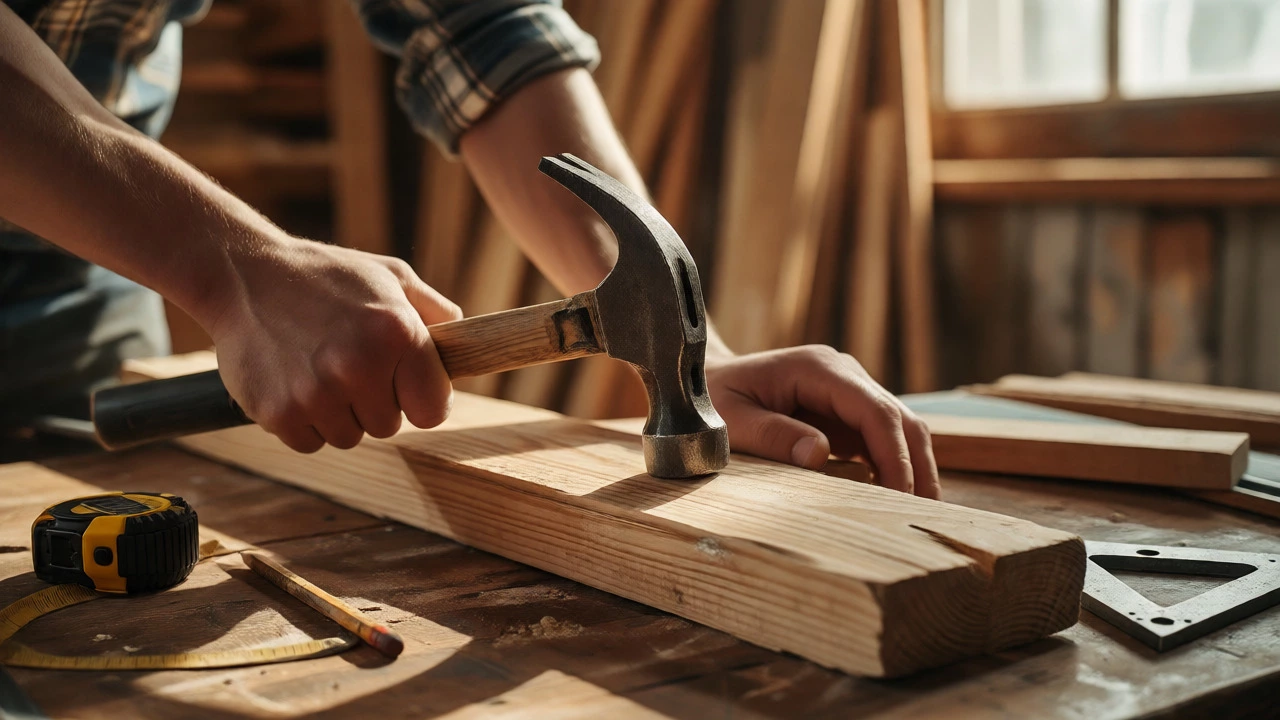
Start by identifying your core toolkit. You don’t need $500 worth of gear yet. A reliable tape measure, a speed square, a claw hammer, a set of screwdrivers, and a circular saw with a good blade are enough to start. If you have access to a workshop, adding a drill/driver and an orbital sander helps immensely.
Spend this time practicing non-destructive tasks:
- Measuring: Measure random objects in your house. Write down the dimensions. Check them again. Accuracy matters more than speed right now.
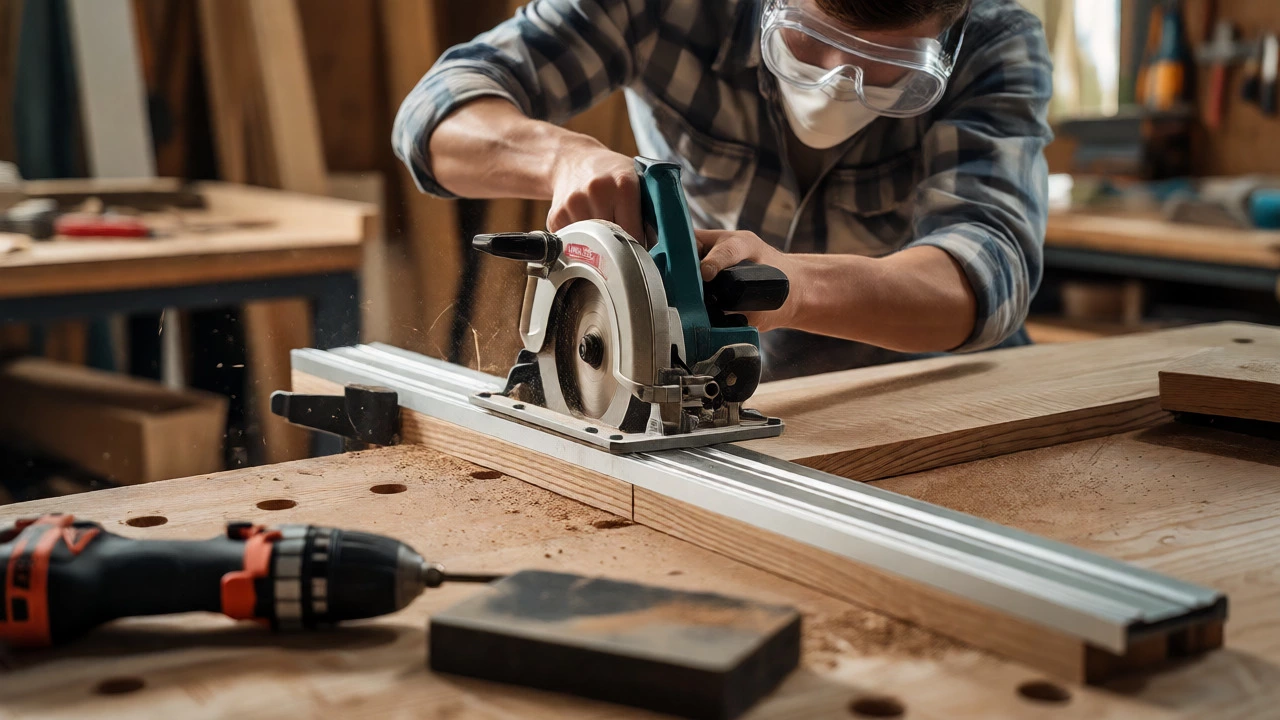
- Cutting Practice: Buy cheap pine offcuts from a local yard. Practice making straight cuts across the grain and along the grain. Don’t worry about saving the pieces; focus on keeping the saw steady.
- Drilling: Practice drilling into scrap wood at different speeds. Learn when to back out the bit to clear chips.
By the end of week four, you should feel confident plugging in a saw without worrying you’ll lose a finger. That confidence is crucial because anxiety causes hesitation, and hesitation causes kickback.
Stage 2: Simple Projects and Joinery Basics (Months 2-3)
Now you’re ready to build. The goal here isn’t perfection; it’s completion. Choose projects that require minimal joinery complexity. Think flat-pack style but made from raw lumber.
A classic starter project is a simple box shelf or a picture frame. These force you to deal with two critical concepts: squareness and alignment.
| Mistake | Why It Happens | The Fix |
|---|---|---|
| Crooked Cuts | Blade drift or shaky hands | Use a straight-edge clamp guide for circular saws |
| Splitting Wood | Driving screws too close to edge | Always drill pilot holes near edges |
| Uneven Surfaces | Inconsistent sanding pressure | Use a sanding block, never just paper |
| Gaps in Joints | Wood not acclimated to humidity | Let wood sit in your home for 48 hours before building |
During this phase, you will learn about wood movement. Unlike metal or plastic, wood expands and contracts with humidity changes. If you glue two wide boards together without allowing for this, your project might crack in winter. Understanding this physical property saves you from frustration later.
You also begin to appreciate the value of sharp tools. A dull chisel requires more force, which reduces control. Sharpening stones seem intimidating, but learning to hone a blade takes only a few evenings of practice and pays dividends forever.
Stage 3: Intermediate Skills and Precision (Months 4-6)
Once you can build a sturdy shelf without it wobbling, you are ready to step up. This stage introduces angled cuts and more complex assemblies. You might attempt a bench seat with legs, requiring you to cut compound angles or simply ensure four legs stand at equal heights.
This is where patience becomes your primary tool. You will encounter errors-holes drilled in the wrong spot, boards cut too short. Instead of throwing the project away, learn to fix mistakes. Filling gaps with sawdust and superglue, or using dowels to repair stripped screw holes, are valuable skills that separate amateurs from competent DIYers.
Consider taking a weekend course during this phase. Many community colleges or trade schools offer introductory workshops. Even two days of guided instruction can correct bad habits you didn’t know you had. For instance, seeing how a professional holds a plane or sets up a router fence provides immediate feedback that YouTube videos often miss.
At Bristol-based workshops, students often report that the biggest leap happens when they stop trying to hide mistakes and start designing around them. Learning to embrace imperfection is part of mastering the craft.
Factors That Speed Up (or Slow Down) Your Progress
Not everyone learns at the same rate. Several variables influence your timeline significantly.
Access to Tools: If you rely on borrowing tools or visiting a makerspace every time, your progress slows. Having dedicated space-even a corner of a garage-allows you to leave projects out and work incrementally. Continuous engagement beats sporadic weekend binges.
Physical Fitness: Carpentry is physically demanding. Sawing, lifting, and standing for hours require stamina. If you struggle with grip strength or back pain, incorporate specific exercises. Stronger hands lead to better control.
Math Confidence: You don’t need calculus, but comfort with fractions and geometry helps. If converting 1/8 inch to decimals confuses you, spend a week practicing. There are apps and charts, but mental fluency speeds up workflow.
Mentorship: Having someone experienced to ask questions accelerates learning dramatically. Online forums like Reddit’s r/woodworking are great, but face-to-face advice is faster. Local clubs often welcome newcomers.

Self-Taught vs. Formal Courses
Should you enroll in a college program or teach yourself via YouTube? Both paths work, but they serve different goals.
Self-teaching offers flexibility. You can pause videos, rewind instructions, and focus on projects you actually care about. The downside is lack of feedback. You might develop inefficient habits that take years to unlearn.
Formal courses provide structure and critique. An instructor spots errors immediately. However, they can be expensive and rigid. If you pursue NVQ qualifications in construction trades, expect a longer commitment focused on industry standards rather than personal hobbies.
For most homeowners, a hybrid approach works best. Use online resources for inspiration and technique demonstrations, then validate your methods through local workshops or mentorship. This balances cost with quality assurance.
Practical Tips to Accelerate Learning
Want to shave months off your learning curve? Here are actionable strategies used by successful hobbyists.
- Measure Twice, Cut Once: This cliché exists because it prevents waste. Mark your cut lines clearly with a pencil, not a pen. Double-check against your plan before pulling the trigger.
- Keep a Logbook: Write down what went wrong in each project. Did the wood split? Was the joint loose? Reviewing patterns helps you avoid repeating errors.
- Start Cheap: Do not buy expensive hardwoods for your first ten projects. Pine and poplar are forgiving and affordable. Save oak and walnut for when your skills match the material’s cost.
- Master One Tool at a Time: Don’t try to learn the table saw, router, and lathe simultaneously. Become proficient with your circular saw before introducing new machinery.
Also, clean your workspace after every session. Wood dust accumulates quickly and creates hazards. A tidy shop reflects a tidy mind, leading to clearer thinking during complex builds.
Beyond Basics: Where to Go Next
After six months, you’ll notice a shift. Tasks that once took all day now take hours. You start seeing potential in scrap piles. Maybe you eye a custom desk for your office or built-in shelving for your living room.
At this point, consider specializing. Do you enjoy fine furniture details? Look into veneering and finishing techniques. Prefer structural work? Explore framing and decking. Each niche has its own learning curve, but your foundational skills remain relevant.
Remember, mastery is a marathon, not a sprint. Even seasoned professionals make mistakes. The difference is they recover gracefully. Enjoy the process of turning rough timber into functional art. The satisfaction of sitting on a bench you built yourself is unmatched.
Can I learn carpentry entirely online?
Yes, but with caveats. Online tutorials excel at showing techniques and project steps. However, they cannot correct your posture or tool handling in real-time. Combining online learning with occasional local workshops or mentorship yields the best results.
Do I need expensive tools to start?
No. Start with essential hand tools and one or two power tools like a drill and circular saw. Quality matters more than quantity. A decent mid-range brand will last years. Avoid the cheapest options, as they often lack accuracy and safety features.
Is carpentry dangerous for beginners?
It carries risks, primarily from saws and drills. Most accidents happen due to complacency or improper setup. Always wear eye protection, keep blades sharp, and follow manufacturer guidelines. Taking a short safety course early on mitigates most dangers.
How much does a beginner carpentry course cost?
In the UK, weekend workshops typically range from £50 to £150 depending on materials included. Longer vocational courses vary widely. Self-learning costs depend on tool purchases, but initial setups can stay under £200 if you prioritize essentials.
What is the hardest part of learning basic carpentry?
Achieving consistent accuracy. Cutting straight lines and ensuring corners are perfectly square requires practice and attention to detail. Developing the patience to double-check measurements before cutting is often harder than the physical act of sawing.



Write a comment